Why Clean Your Keurig Machine?
We use our Keurig coffee makers every day. Over time, coffee residue and mineral buildup can cause bad taste and clog the machine. Regular cleaning keeps your coffee fresh and your machine working well. It also helps stop mold and scale from building up inside.
In our experience, a clean Keurig lasts longer and gives better coffee. We have found that simple maintenance every few months saves headaches later.
Cleaning your Keurig means taking care of the water reservoir, brew needle, drip tray, and inside parts. Let’s walk through the easy steps.
🚀 Beginner Tip: Mark your calendar to clean your Keurig every 3 months. It’s a quick way to keep your coffee tasting great!
Clean Keurig Water Reservoir
The water reservoir holds your water and can grow mold or scale if not cleaned. We always remove it and wash it with warm soapy water every cleaning session.
Use a soft cloth or sponge to wipe all sides. Rinse well to remove soap. If you see white spots, that means mineral buildup. Use vinegar diluted with water to soak the reservoir for 10 minutes, then rinse.
Dry the reservoir before putting it back. A clean reservoir means fresh water for every cup.
📑 Quick Fact: Mineral buildup in the reservoir can clog the machine and ruin coffee flavor.
Descaling Keurig Machine
Descaling is the process of removing hard water scale inside your Keurig. Scale blocks water flow and affects the brewing system. We do this at least twice a year.
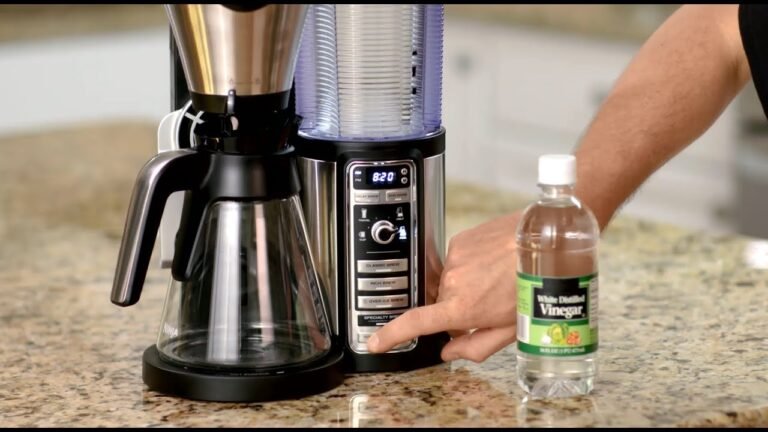
There is a special descaling solution for Keurig available, or you can use white vinegar. We prefer the official Keurig descaling solution because it’s made for the machine and smells better.
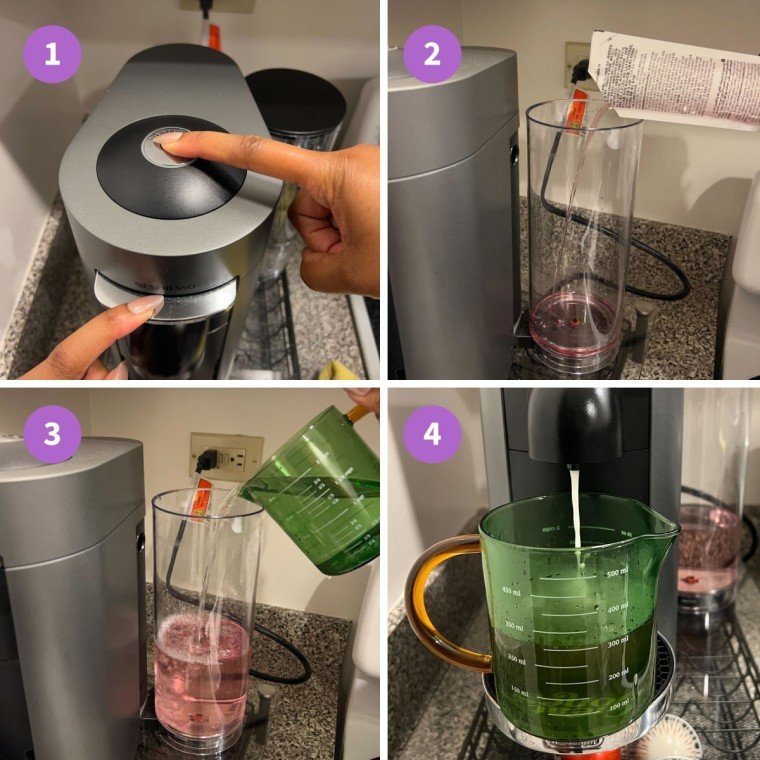
To descale, fill the reservoir with the solution. Run the Keurig without a K-Cup until the reservoir is empty. Then run fresh water through 3 times to rinse.
Remember to unplug the machine before cleaning and follow the instructions carefully to avoid damage. This deep cleaning process keeps your Keurig healthy.
For more details on descaling, check out this How to Clean and Descale Your Brewer | Knowledge Article.
Cleaning Keurig Brew Needle
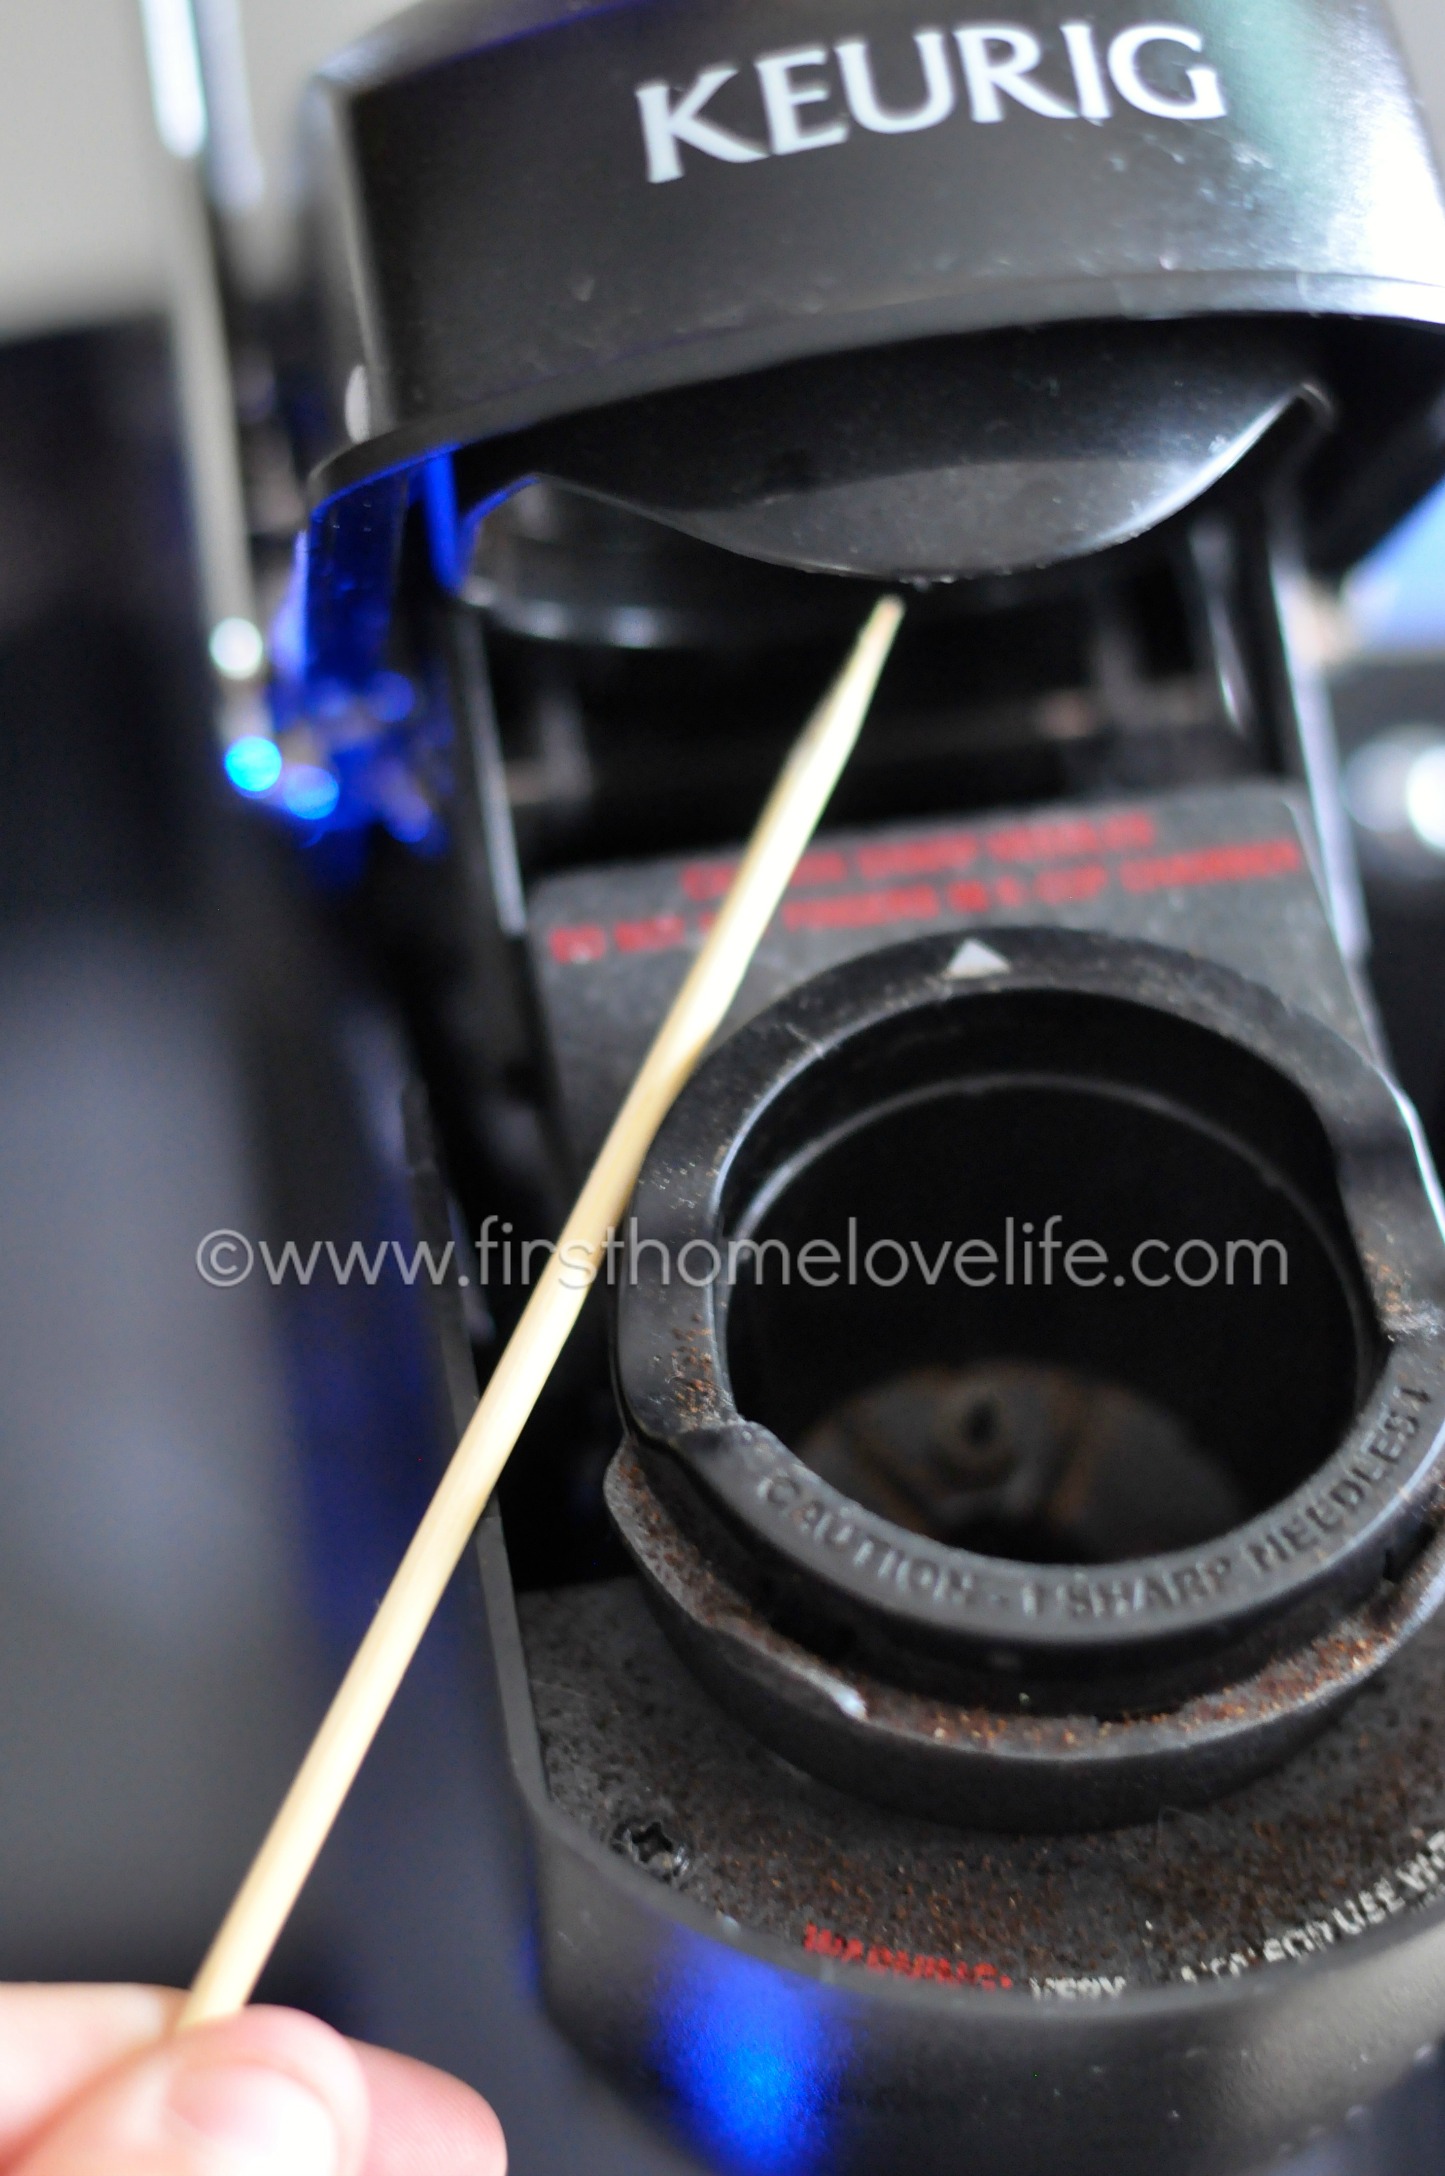
The brew needle pierces the K-Cup to brew coffee. It can get clogged with coffee grounds. We clean it every time we descale the machine.
Use a paperclip or the cleaning tool from a Keurig cleaning kit to poke inside the needle holes. Be gentle to avoid damage. Wipe around the needle area with a damp cloth.
This step helps prevent clogs and keeps water flowing smoothly through your coffee grounds.
✅ Checklist:
- ✅ Unplug the machine.
- ✅ Open the K-Cup holder.
- ✅ Use a paperclip to clean needle holes.
- ✅ Wipe needle area with a cloth.
Cleaning Keurig Drip Tray
The drip tray catches any spills or drips when you brew. Coffee stains and mold can form here if ignored.
We remove the drip tray and wash it with warm soapy water every week. If you see coffee stains, soak the tray in vinegar for 10 minutes, then scrub gently.
Dry the tray fully before putting it back. A clean drip tray keeps your counter clean and stops smells.
💬 “Regular cleaning of the drip tray is one easy way to keep your Keurig fresh and your kitchen neat,” we always say.
Cleaning Reusable K-Cups
If you use reusable K-Cups, cleaning them is key. Coffee grounds stick inside and can cause bad taste or clog the machine.
Rinse the reusable cups with warm water after each use. Use mild soap once a week and a small brush to clear holes. Make sure they are dry before reuse.
Keeping reusable K-Cups clean means better coffee and longer machine life.
Overall Coffee Maker Maintenance
Good maintenance is more than just cleaning parts. We also wipe the outside of the machine with a damp cloth and check for leaks or cracks.
Use fresh water daily. Avoid letting water sit in the reservoir for days. Replace water filters if your model has them.
We also recommend running a hot water rinse cycle once a week without a K-Cup to flush the system.
🆚 Here is a table showing the cleaning frequency we follow:
| Part | Cleaning Frequency |
|---|---|
| Water Reservoir | Monthly |
| Descaling | Every 3-6 months |
| Brew Needle | Every descaling |
| Drip Tray | Weekly |
| Reusable K-Cups | After each use |
Following this schedule keeps your Keurig working well and your coffee tasting fresh.
Common Keurig Machine Troubleshooting
Sometimes, even with cleaning, your Keurig might not work right. Common issues include slow brewing, leaks, or error messages.
We have found these fixes helpful:
- Check for clogs in the brew needle.
- Ensure the water reservoir is seated properly.
- Run a cleaning cycle to clear buildup.
- Reset the machine by unplugging it for a few minutes.
If problems continue, check the manual or customer support.
⭐ Expert Insight: Consistent cleaning prevents many problems and saves repair costs.

Keurig Deep Cleaning Process
Once or twice a year, give your Keurig a deep clean. This includes descaling, cleaning the needle, reservoir, drip tray, and exterior.
We use a cleaning kit that has brushes and tools to reach all parts. After disassembling removable parts, soak them in vinegar solution and scrub.
This full process restores your machine to near-new condition.
Below is a step-by-step guide for deep cleaning:
- Unplug the machine.
- Remove and wash the water reservoir.
- Remove and clean the drip tray.
- Use a cleaning tool to clean the brew needle.
- Fill reservoir with descaling solution or vinegar.
- Run descaling cycles as per instructions.
- Rinse reservoir thoroughly with fresh water.
- Wipe machine exterior.
Doing this deep clean keeps your coffee maker fresh and delicious.
🚀 Pro Tip: Use official Keurig cleaning kits for the best results and to avoid damage.
Removing Coffee Stains and Mold
We noticed coffee stains on the drip tray and inside parts can get stubborn. Vinegar is great for breaking them down.
For mold, regular cleaning helps, but if you see mold patches, soak parts in vinegar or baking soda mix for 15 minutes, then scrub and rinse well.
Dry parts fully to stop mold from coming back. Mold not only smells bad but can be unhealthy.
⚖️ Here is a pros and cons table for using vinegar vs. commercial cleaning solutions:
| Method | Pros | Cons |
|---|---|---|
| Vinegar | Cheap, natural, easy to find | Strong smell, may leave taste if not rinsed well |
| Keurig Cleaning Solution | Made for machine, no strong smell | Costs more, less natural |
Choose what works best for you, but always rinse well after cleaning.
Final Thoughts
Cleaning your Keurig machine is simple with the right steps. Regular care stops buildup, mold, and bad taste. We have seen that following a routine cleaning schedule makes a big difference.
Use vinegar or a descaling solution to keep your machine clear. Clean the brew needle and drip tray often. Don’t forget reusable K-Cups.
With care, your Keurig will keep making great coffee every day. Start your cleaning routine today and enjoy fresh, tasty coffee for years!
Frequently Asked Questions
How often should I clean my Keurig machine?
We recommend cleaning your Keurig every 3 to 6 months to avoid buildup of coffee residue and mineral deposits.
Can I use vinegar to descale my Keurig?
Yes, vinegar is a common descaling solution, but using a Keurig cleaning solution is often gentler and just as effective.
How do I clean the Keurig brewing needle?
You can use a paperclip or the cleaning tool from a Keurig cleaning kit to clear coffee grounds from the brew needle.
What is the best way to remove mold from my Keurig?
Regular descaling and wiping the water reservoir and drip tray with warm soapy water helps prevent and remove mold.
Are reusable K-Cups easy to clean?
Yes, reusable K-Cups can be cleaned with warm water and mild soap. Make sure to remove all coffee grounds for best results.

Michael Peterson is a home appliance writer focused on practical washing machine care, maintenance, and troubleshooting. He shares simple, reliable tips to help readers keep their washing machines running efficiently, avoid common problems, and extend appliance life.