Why Clean the Washing Machine Agitator?
The washing machine agitator moves clothes during a wash. Over time, detergent residue and lint build up. This can cause odors and reduce washing power. Mold and bacteria may grow inside the agitator and drum. Cleaning the agitator helps keep your washing machine fresh and working well.
Regular washing machine cleaning also prevents damage to parts. Industry consensus shows that cleaning the agitator improves washing machine performance. It also stops bad smells from forming. For a deeper understanding of this mechanic, analyzing resources on cleaning a washing machine agitator provides excellent foundational context.
Good agitator washing machine maintenance is a key step in household appliance cleaning tips. It keeps your machine running longer and your clothes cleaner.
Tools Needed for Cleaning Washing Machine Agitator
To clean inside the agitator, you will need some simple tools. Protective gloves keep your hands safe from mold and chemicals. A soft cloth and toothbrush help scrub hard spots. A cleaning brush works well for reaching tight areas.
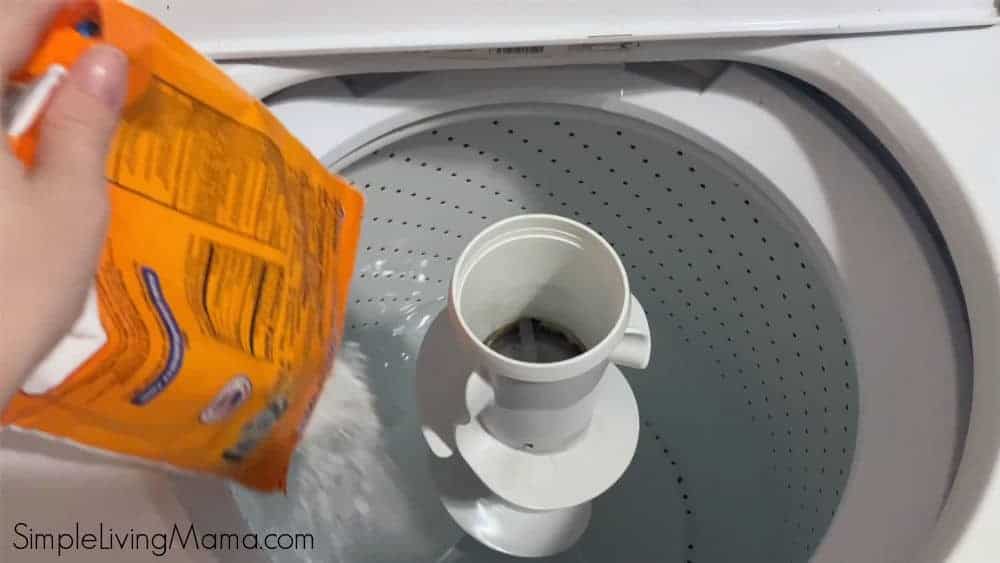
For cleaning solution, use white vinegar and baking soda. These are safe and kill mold and bacteria. You will also need warm water and a small bucket. If you plan to remove the agitator, have a screwdriver ready for agitator screws. Always check your user manual before disassembly.
Following these basic steps ensures safe and effective agitator washing machine maintenance.
Step-by-Step Guide to Clean Inside Agitator
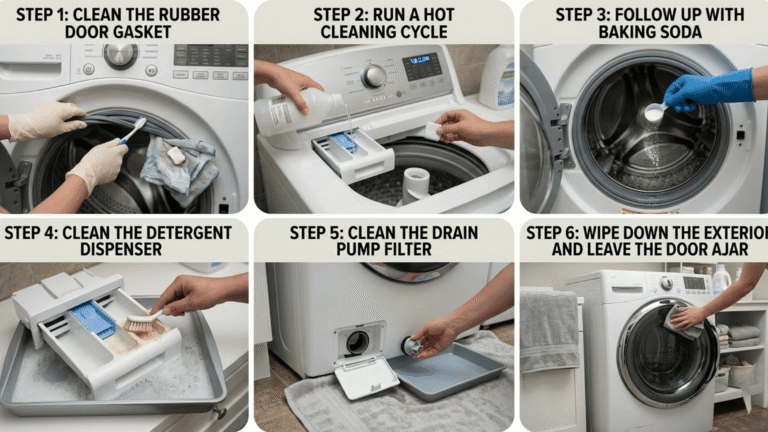
Cleaning the agitator can be done in two ways: without removal or with removal. Start with the easy DIY agitator cleaning method.

- Mix equal parts white vinegar and warm water in a bucket.
- Dip the toothbrush or cleaning brush in solution.
- Scrub the agitator inside and outside, focusing on crevices.
- Use the soft cloth to wipe away loosened dirt and residue.
- Run a hot water cycle with no clothes to rinse the machine.
If buildup is heavy, consider removing the agitator for deep cleaning. Follow these steps carefully:
- Unplug the washing machine for safety.
- Locate and remove agitator screws using a screwdriver.
- Lift the agitator out gently. Check for agitator pawls inside.
- Soak the agitator in vinegar and water for 30 minutes.
- Use a brush to scrub inside the agitator thoroughly.
- Rinse with clean water and dry completely.
- Reassemble the agitator, tightening screws securely.
- Run a rinse cycle to clear any loosened debris.
Cleaning washing machine parts like the agitator seals and drum also helps prevent mold and odors. Regular cleaning frequency of these parts supports good washing machine bacteria prevention.
These steps improve washing machine performance and extend machine life.
Common Issues and Solutions
Detergent buildup inside the agitator can cause stiffness and poor agitation. Mold and mildew cause bad odors and stains on clothes. Lint and debris block water flow and damage parts. Cleaning the agitator and drum fixes these problems.
If agitator washing machine maintenance is neglected, you may need agitator replacement. Signs include cracks, broken pawls, or rattling. Replacement parts are available from manufacturers or certified dealers.
Cleaning washing machine seals and drum regularly stops mold buildup. Using the right detergent amount prevents washing machine detergent buildup. Water temperature also matters — warm or hot water cleans better.
Maintenance Tips for Washing Machine Agitator
Keep your agitator clean with these simple tips:

- ✅ Clean the agitator every 3 to 6 months.
- ✅ Use vinegar and baking soda to remove odors.
- ✅ Check and clear lint traps often.
- ✅ Use the correct detergent amount.
- ✅ Run a maintenance wash cycle monthly.
These tips improve washing machine performance improvement. Prevention is better than repair.
For detailed advice on related parts, see our guide on cleaning filter of Samsung washing machine. Also, learn more about how to clean agitator in washing machine for full care.
Visual Guide: Agitator Cleaning Checklist
Use this checklist to ensure you cover all cleaning steps:
| Step | Task | Tools Needed |
|---|---|---|
| 1 | Prepare vinegar and water solution | Bucket, vinegar, water |
| 2 | Scrub agitator with brush | Toothbrush, cleaning brush |
| 3 | Wipe with soft cloth | Soft cloth |
| 4 | Remove agitator if needed | Screwdriver, gloves |
| 5 | Soak agitator in solution | Bucket, vinegar, water |
| 6 | Rinse and dry agitator | Water, towel |
| 7 | Reassemble agitator | Screwdriver |
| 8 | Run rinse cycle | Washing machine |
Following this checklist supports thorough agitator washing machine maintenance. It also helps with washing machine odor removal and mold prevention.
Pros and Cons of Cleaning Methods
There are two main methods to clean the agitator: DIY cleaning without removal and deep cleaning with removal.
| Method | Pros | Cons |
|---|---|---|
| DIY Cleaning | Easy, no tools needed, quick | Less thorough for heavy buildup |
| Deep Cleaning | Removes tough residue, better odor removal | Needs disassembly, time-consuming |
Choose the method based on how dirty the agitator is. Regular cleaning avoids the need for deep cleaning often.
Preventing Odor and Mold in Washing Machine
Mold and mildew grow in damp, dirty places like inside agitators. To stop this, keep the machine dry and clean.
After each wash, leave the lid open to air dry. Use hot water cycles regularly. Clean seals and drum to stop mold growth. Use the right detergent and avoid overfilling.
These habits improve washing machine bacteria prevention and keep your machine fresh.
Summary and Final Thoughts
Cleaning the inside agitator in your washing machine is key for good washing results. It fights detergent residue, mold. And odors. You can clean it yourself with safe household items. Deep cleaning requires removing the agitator but gives better results.
Regular agitator washing machine maintenance improves machine life and washing power. Follow a cleaning schedule and prevent buildup with good habits. For more cleaning guides, check out our tips on how to clean iceman ice machine for other appliances.
By staying on top of agitator and washing machine care, you keep your laundry fresh and your appliance running smoothly for years.
| Cleaning Interval | Benefits |
|---|---|
| Monthly | Odor control, prevent mold buildup |
| Every 3-6 months | Removes detergent residue, lint |
| Annually | Deep clean, inspect for damage |
Stay consistent to enjoy a clean, fresh washing machine and better laundry results.
Cleaning the agitator is not just about hygiene but also about maintaining efficiency. A clean agitator moves clothes better and uses less energy.
Frequently Asked Questions
Why is it important to clean the washing machine agitator?
Cleaning the agitator removes detergent buildup, mold, and bacteria. This helps keep clothes clean and the machine working well.
How often should I clean the agitator inside the washing machine?
Experts recommend cleaning the agitator every 3 to 6 months to prevent buildup and odors.
Can I clean the agitator without removing it?
Yes, many cleaning tips involve using brushes and cleaning solutions to clean the agitator without full disassembly.
What household items are good for DIY agitator cleaning?
Vinegar, baking soda, and warm water are effective and safe for removing residue and killing mold.
Where can I find instructions for washing machine agitator disassembly?
The user manual for your machine is the best place to find safe disassembly steps. Online resources also offer guidance.

Michael Peterson is a home appliance writer focused on practical washing machine care, maintenance, and troubleshooting. He shares simple, reliable tips to help readers keep their washing machines running efficiently, avoid common problems, and extend appliance life.